Create and Launch
Creating and launching an application in Nullstone is very simple and does not require infrastructure expertise. On this page, we will walk through the basic steps required. The following pages in this section provide additional guidance for connecting to databases, setting environment variables, and more.
Create Application
From the Applications page in your stack, click on Create Application and provide some information about your application.
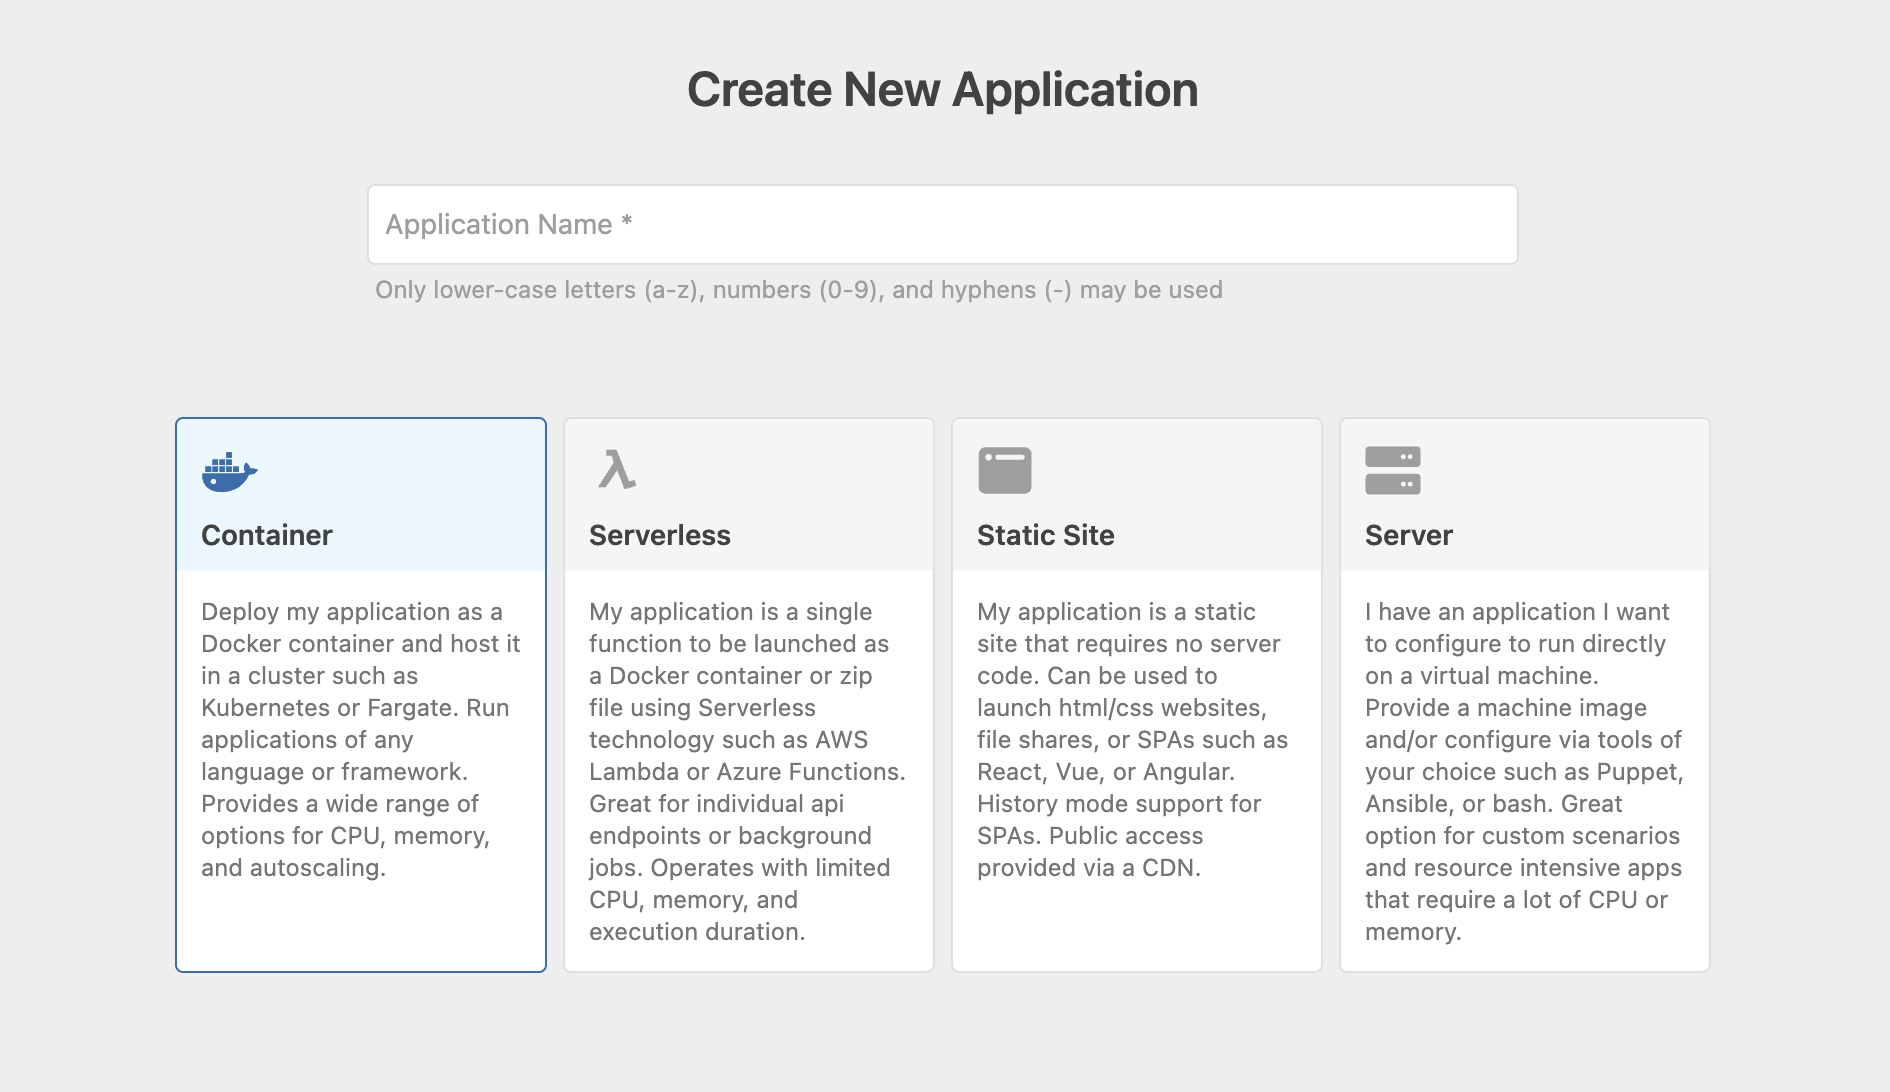
Name and Application Type
Provide a name for your application. It can contain lowercase letters, numbers, and hyphens. Nullstone supports 4 different types of applications.
Container
Container applications allow you to deploy as a Docker container and host it in a cluster such as Kubernetes or Fargate. By packaging your application as a container, you can use any language or framework. This also makes it very portable and can be hosted as a serverless application as well. This option provides a wide range of options for CPU, memory, and autoscaling.
Static Site
Select the option for a static site if your application requires no server-side code. Typical uses for this option are html/css websites, file shares, or SPAs such as React, Vue, or Angular. For SPAs, you can enable history mode to ensure the proper navigation in your application. Static sites provide public access via a CDN.
Serverless
Serverless applications are a great way to deploy simple workloads. They are limited to a single function with each function request having a limited timeout. For example, an AWS Lambda function can only run for 15 minutes. If you need to run a very long-running process, it is best to use a container application instead. This option is great for individual api endpoints or short background jobs. Combine multiple serverless applications to support event driven applications such as workflows, state machines, data pipelines, and other more complex systems.
Server
This option allows you to launch a virtual machine that you can manage yourself. Typical configuration management options include Ansible, Chef, or Puppet. This can be the most complex option because you must install and maintain dependencies as well as do your own code deployment. However, this is often a great option if you have specific needs such as large memory or cpu. Many AI or machine learning applications can make great use of this option.
Identifying Your Application
Next, provide some information about your application in order to easily identify it. Both Repo and Framework provide important contextual information to your team. This information is displayed throughout Nullstone and makes it easy to find your application. 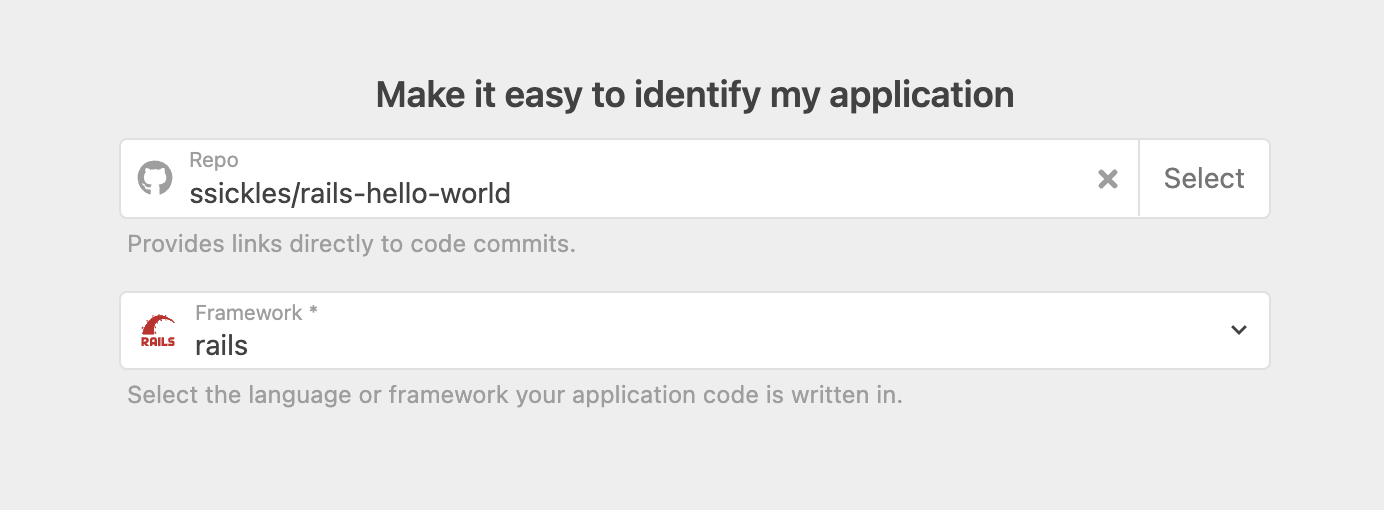
Code Deployment
How would you like to deploy your code? By default, Nullstone allows you to deploy your code using your own CI/CD pipeline. This allows you to setup your own test suites and approval processes before deploying code. Check out the guide on custom code deployment for instructions, examples, and tools. Examples for CircleCI and GitHub Actions are provided and make it easy to get started. 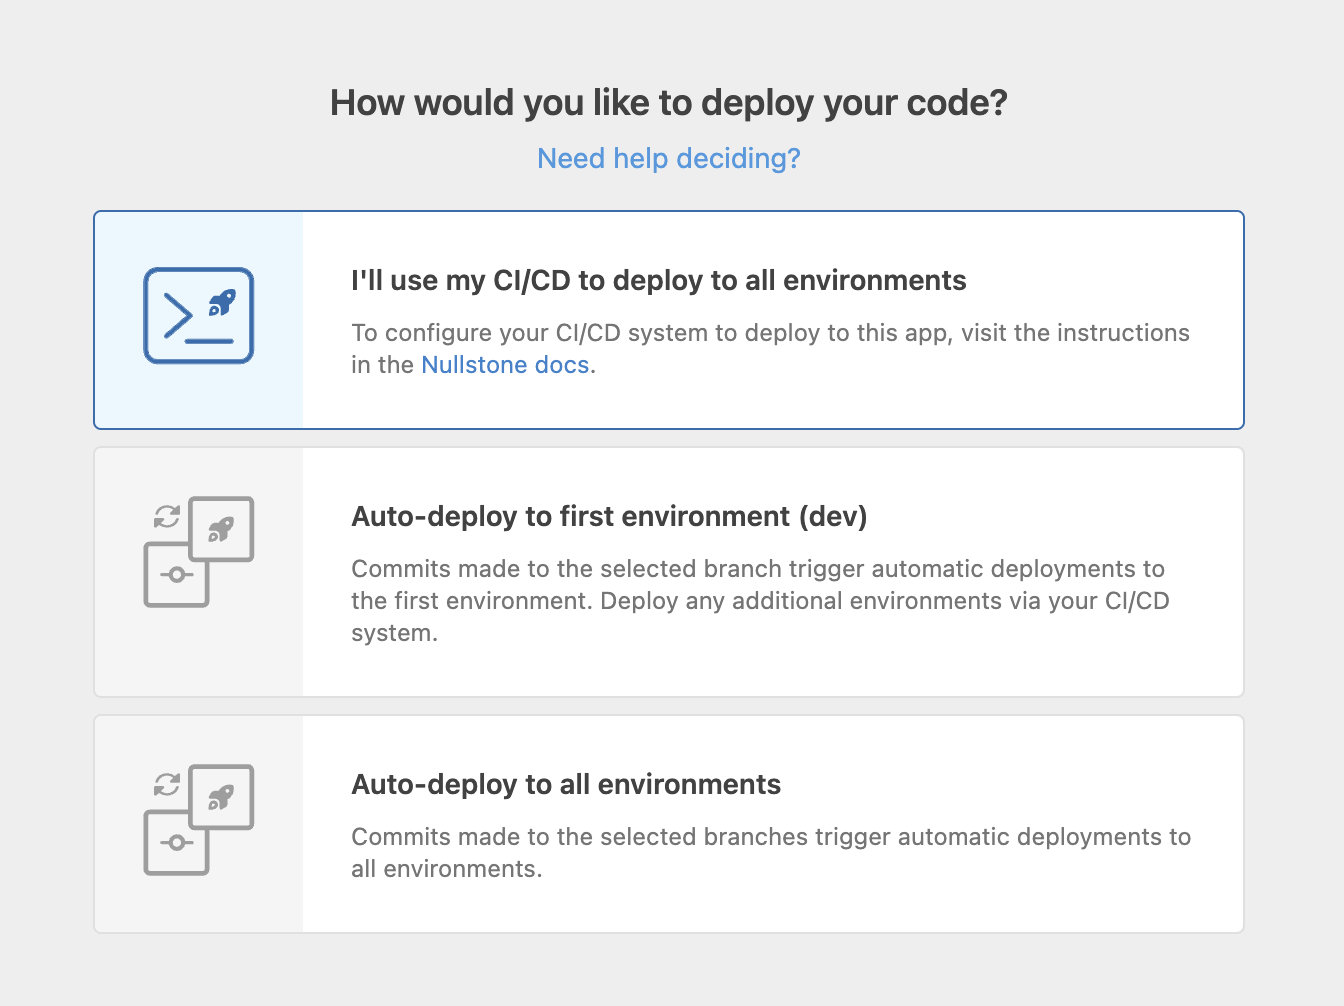
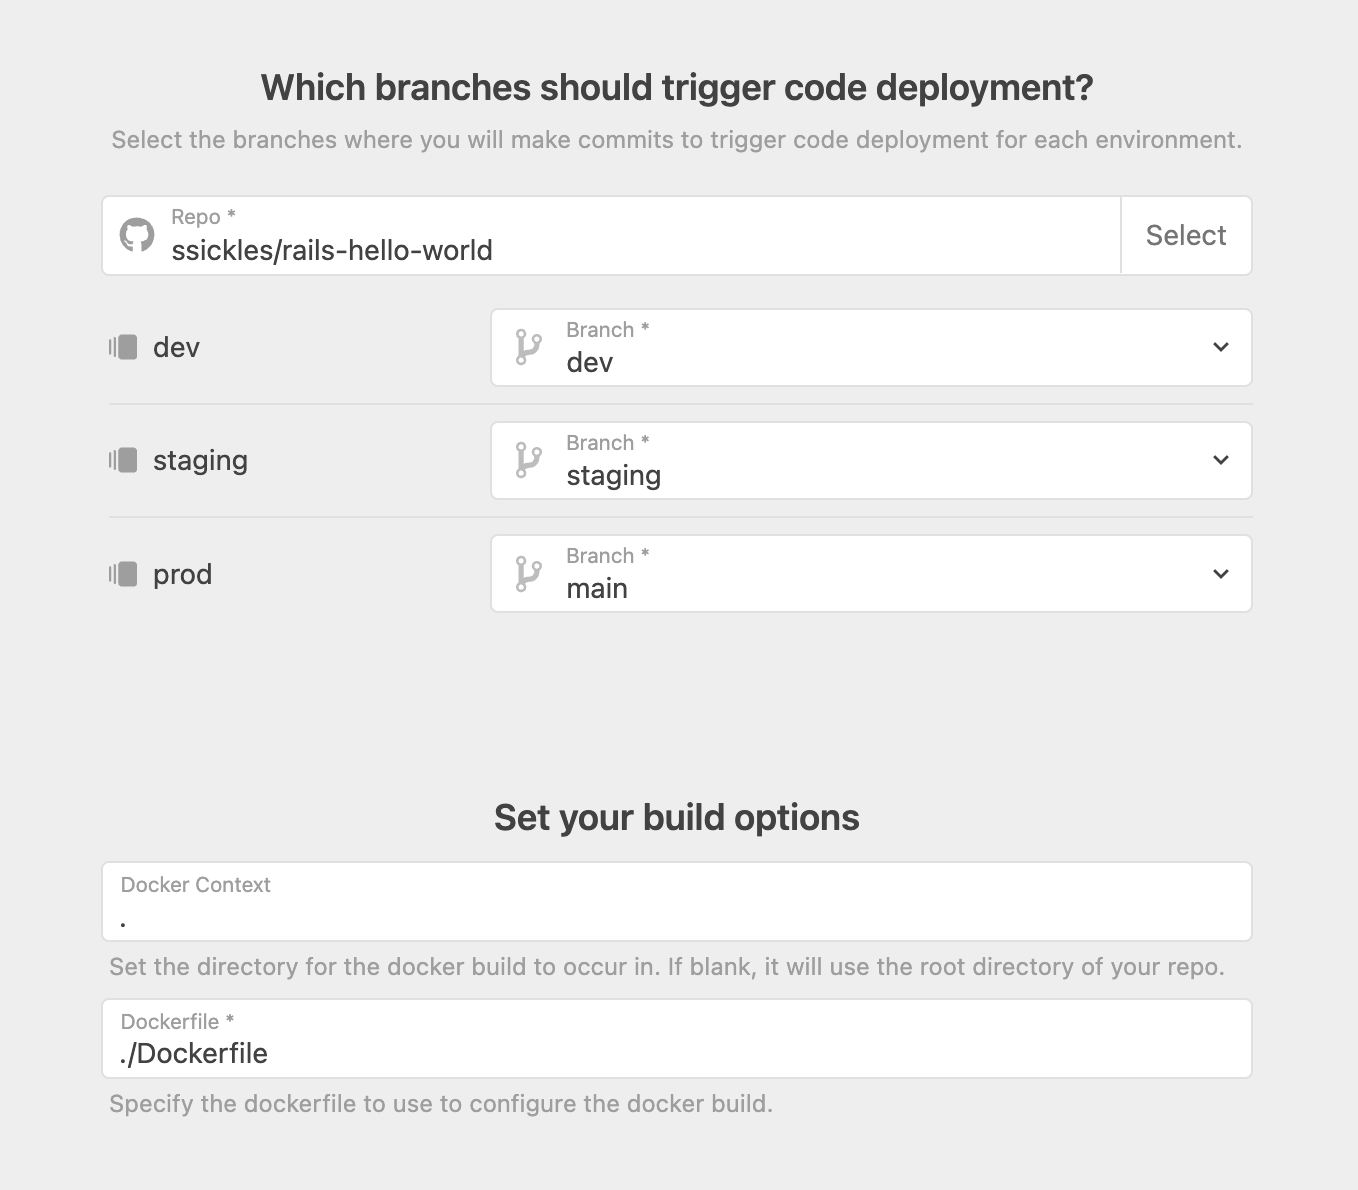
Auto Deploy
If you would like to have your code automatically deployed with every code commit, select one of the auto-deploy options. You can either auto-deploy your code to just the first environment (typically dev) or to all environments. For each environment, choose which branch should be deployed to each. As you make commits to each branch, Nullstone will automatically keep each environment up to date with the latest code.
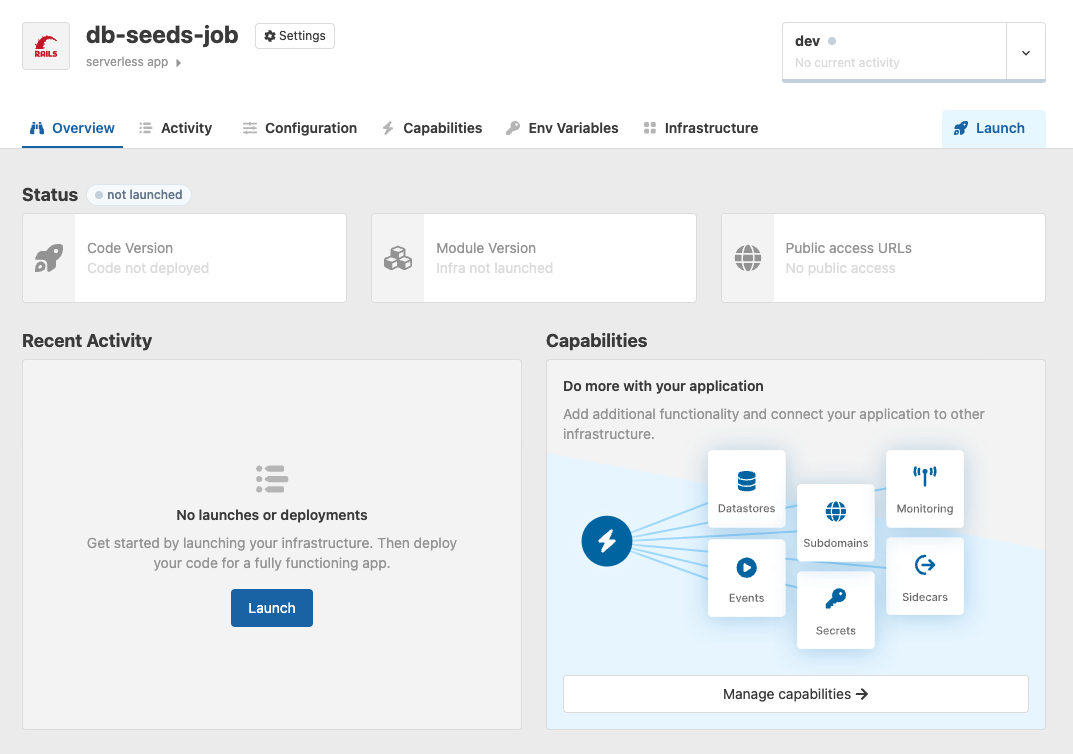
Launch Your Application
After creating your application, you are taken to the application overview page. From here, you can launch your application for each environment.
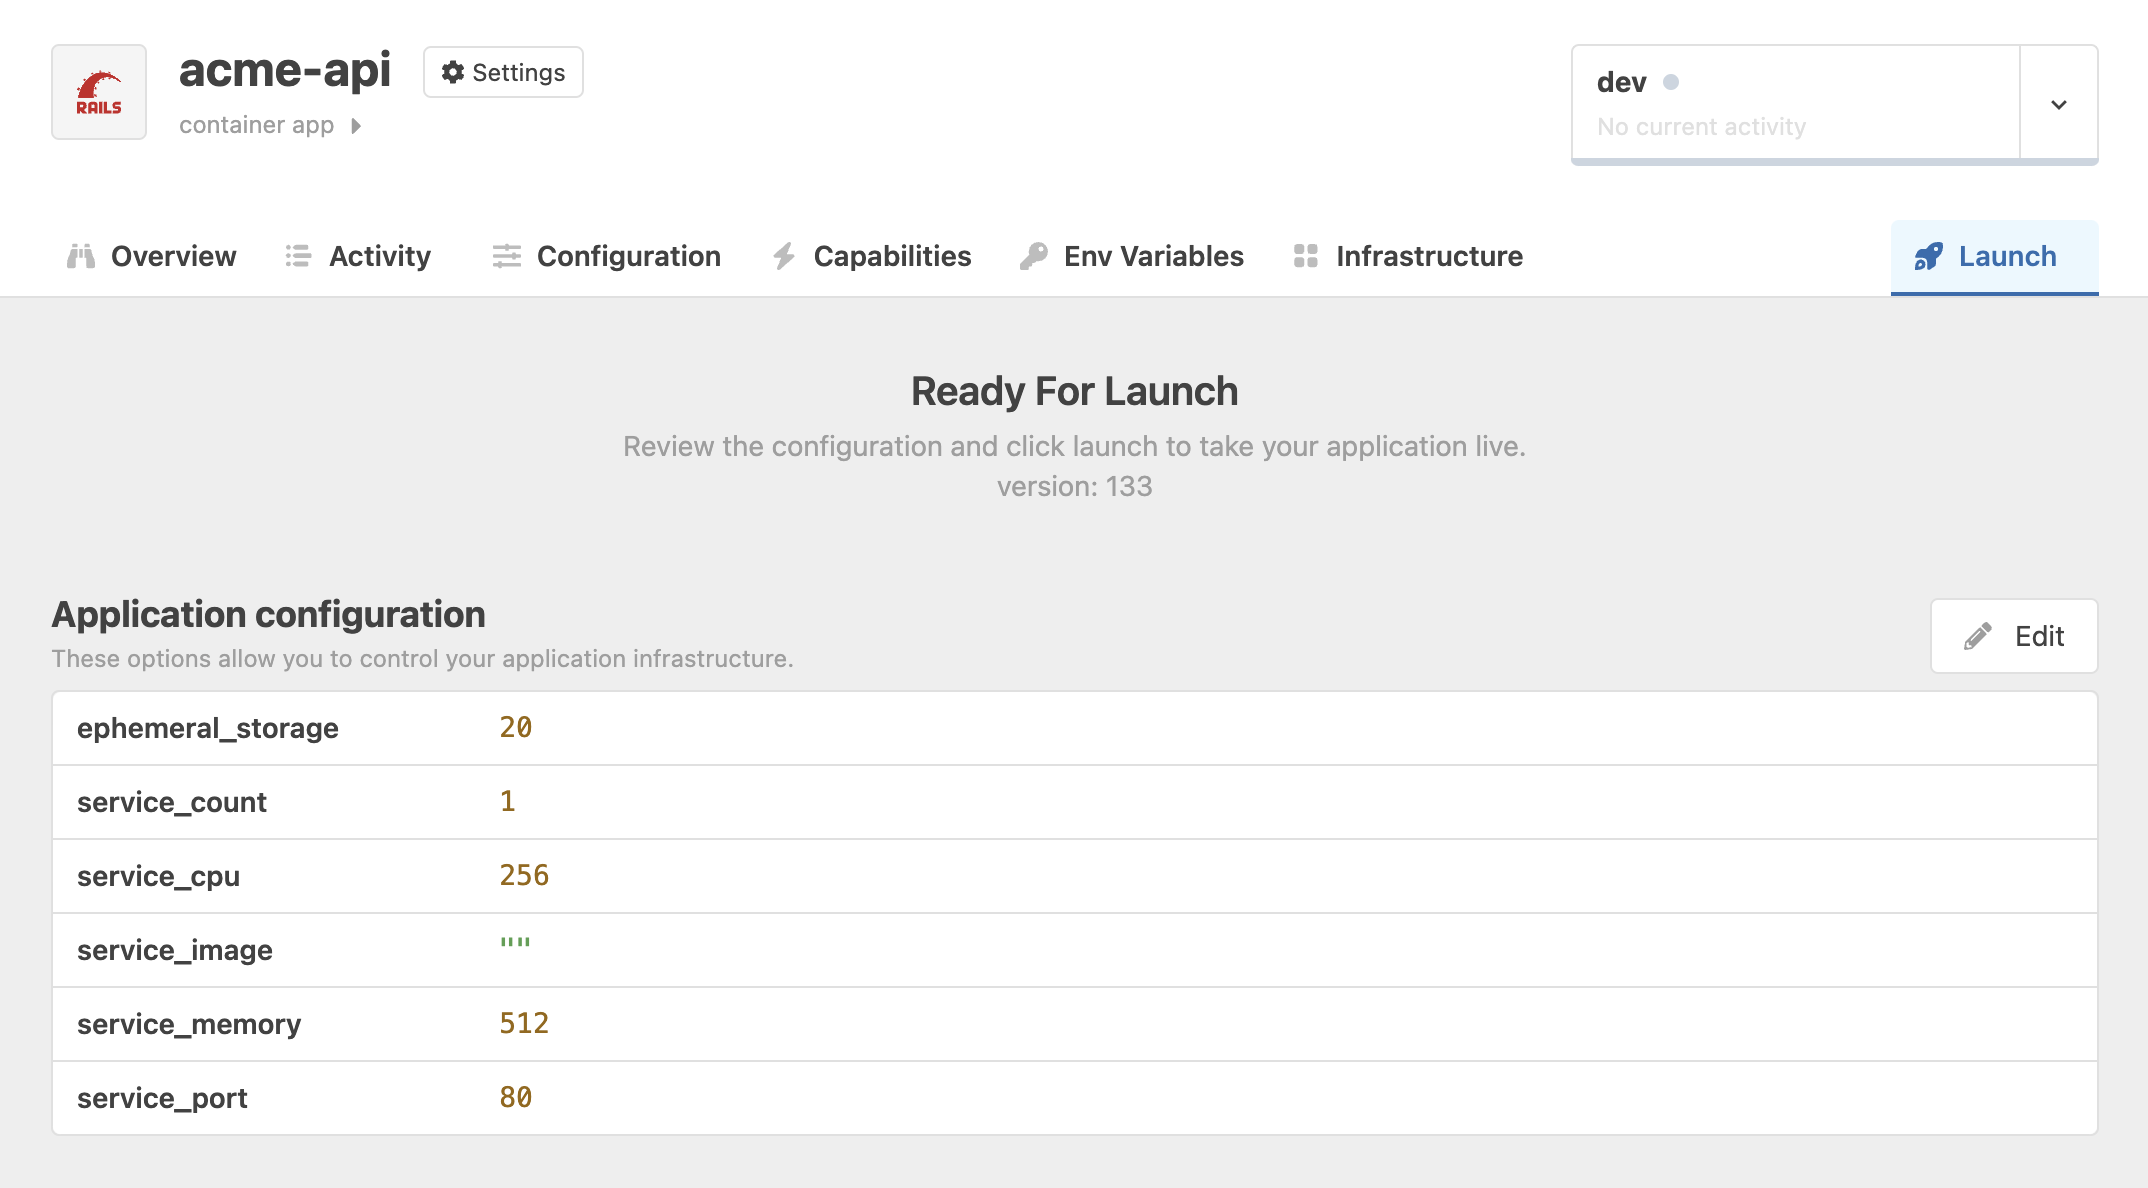
Configuration
In the example, we have chosen a Container application, so we are prompted to provide inputs for service count, cpu, memory, image, and port. For other application types, we would be prompted with different inputs.
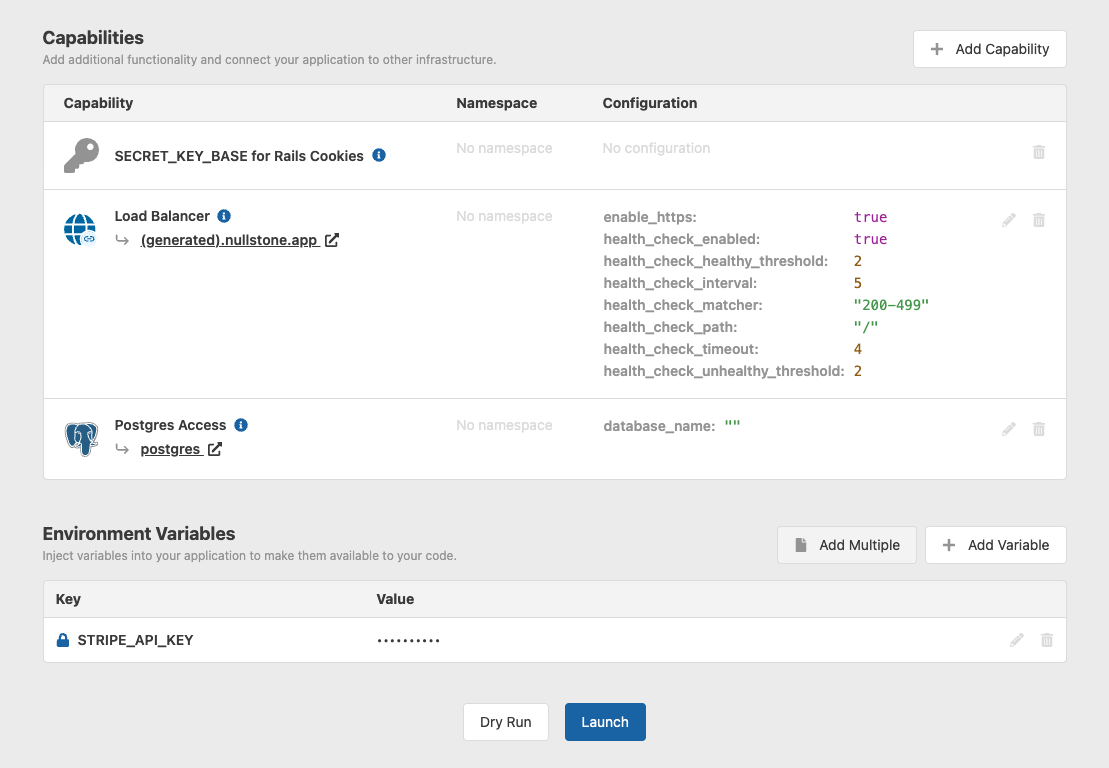
Capabilities and Environment Variables
Capabilities allow you to enhance your applications with additional functionality and connectivity to other infrastructure. These capabilities provide things like access to a database, fronting the application with a Load Balancer, and injecting a generated JWT key. When launching your application, you can review the capabilities that will be launched with your application. To learn more about capabilities, check out the Capabilities docs.
As you launch your application for each environment, you can also configure environment variables. Environment variables allow you to provide environment specific values to your application, including secrets that should not be shared. In the example, we have added a STRIPE_API_KEY. To learn more about environment variables, check out the Environment Variables docs.
After reviewing and clicking the Launch button at the bottom of the page, all the infrastructure and configuration for your application will be launched.